EPSOHQ · Physical training
Frontex physical preparation
Build strength, running and swimming skills with a structured course and a dated training plan. Choose the published FGIV or AD8 profile above.

Your course progress
0/ 48
Preparation follows RCT-2025-00107. Applications for this campaign closed on 15 December 2025. Check official updates for later campaigns.
Guest progress stays in this browser session. Sign in to save new work to your account. Sign in
Your preparation journey
From first assessment to test day
Original EPSOHQ training guidance for adults. Learn technique before testing maximum effort. Workloads are starting templates to adjust to your ability; completing lessons does not certify fitness.
Underwater retrieval requires a qualified instructor providing dedicated supervision and a rescue procedure. Never practise apnea alone, hyperventilate, or compete to hold your breath. General pool supervision alone is insufficient for these drills.
 01
Foundations
Know your test
Train against the notice attached to your application.
 02
Foundations
Assess your starting point
Distinguish technique, conditioning and unassessed skills.
 03
Foundations
Warm-up, effort and recovery
Prepare for effort and recognise when to reduce it.
 04
Strength
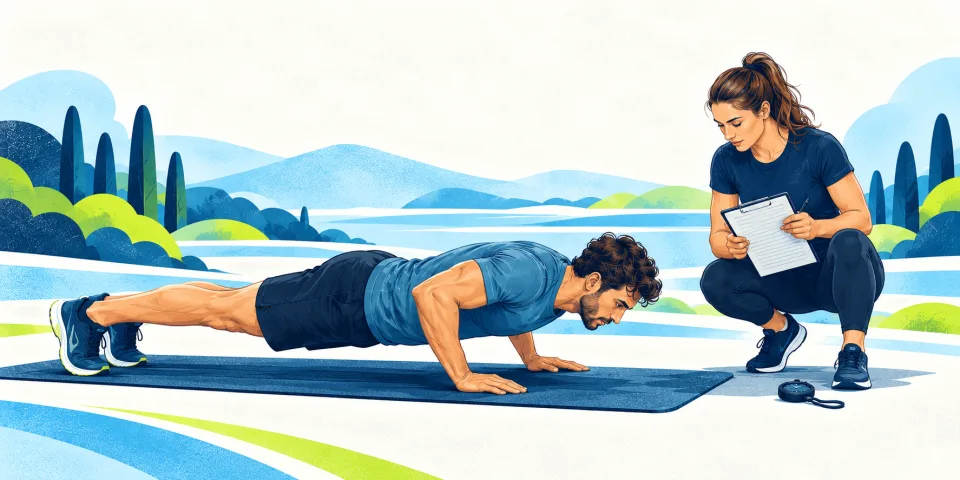
Push-up progression
Build valid repetitions through repeatable submaximal work.
 05
Strength
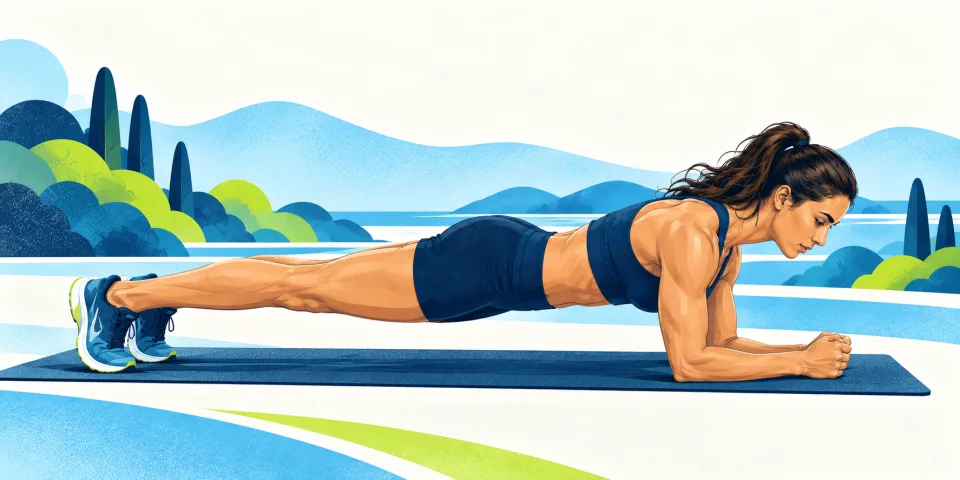
Plank and trunk endurance
Sustain assessed body position without breath-holding.
 06
Running
Build a running foundation
Establish tolerable running before harder shuttle work.
 07
Running
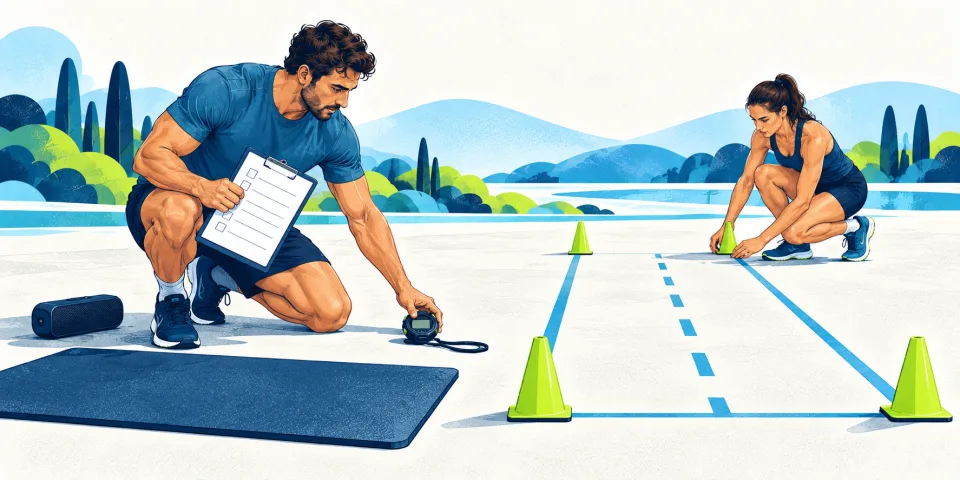
Prepare the 20 m beep test
Match lane, audio, pacing and notation to the official test.
 08
Swimming
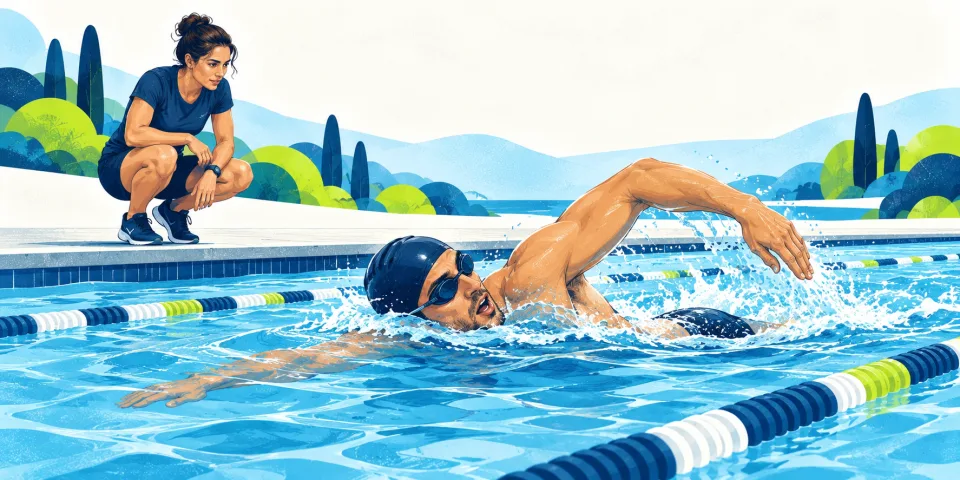
Front crawl and breaststroke
Develop continuous surface swimming before seeking speed.
 09
Swimming
Supervised object retrieval
Recognise the protocol and arrange qualified instruction.
 10
Recovery and test day
Fuel, fluids and sleep
Support repeatable training with practical daily habits.
 11
Foundations
Mock tests and adjustments
Use valid results to choose the next block.
 12
Recovery and test day
Taper and test day
Arrive rested, organised and familiar with the protocol.
Learn the skill. Practise with purpose.
Your learning space
Chapter 01 / 12 Foundations
Know your test
Train against the notice attached to your application.
01Choose the correct vacancy
Record the recruitment reference and whether you apply for FGIV or AD8. The published 2025/2026 notices use different land-test scoring tables. A future vacancy may change the tests, so save its notice and invitation before choosing targets. General careers pages explain eligibility; they do not replace the physical-test annex.
Put it into practice
- Open your vacancy notice and locate Annex II.
- Write down the reference, profile and date checked.
Check before progressing: Can you identify the source of every target you use?
02Understand scoring and exclusion

The reference campaign awards up to five points in each land exercise. At least six points overall and a nonzero score in every land event are required. The two swimming exercises each require a nonzero score. Maximum-score targets are different from minimum qualifying boundaries. Build a margin in every event instead of relying on one strong performance.
Put it into practice
- Compare first nonzero and maximum-score boundaries in the calculator.
- Identify any event that currently scores zero.
Check before progressing: Three one-point land scores total only three points.
03Prepare your training space

Use a stable floor, secure incline or wall, stopwatch, comfortable footwear and a measured running space. Shuttle practice needs an accurately measured 20 m lane with room to turn safely. Do not use a slippery surface or a route shared with traffic. Pool length, instruction and permitted activities must be confirmed with the facility before aquatic practice.
Put it into practice
- Measure the lane rather than estimating it from steps.
- Check equipment stability and book pool instruction.
Check before progressing: Are the space and equipment suitable for the planned movement?
04Plan documents and appointments

Separate training preparation from the official medical examination. The reference notice requires a medical certificate issued no earlier than ten days before physical testing. Check your actual invitation for issuer, dates and documents. Reserve travel and a suitable appointment without obtaining a certificate too early. Keep medical documents private; this course does not need a copy.
Put it into practice
- Put the confirmed test date in your calendar.
- Set a reminder to check certificate requirements and validity.
Check before progressing: Does the certificate date fit the actual test invitation?
Chapter 02 / 12 Foundations
Assess your starting point
Distinguish technique, conditioning and unassessed skills.
01Check activity suitability

Start from your recent activity, current health and any restrictions already given by a clinician. If you have concerns about strenuous exercise, seek appropriate advice before maximal tests. A learning session can use easier movements and comfortable effort. Stop for chest pain, faintness, unusual breathlessness or sharp pain, and obtain appropriate help rather than trying to finish a target.
Put it into practice
- Choose a foundation path if returning after inactivity.
- Resolve health concerns before testing maximum effort.
Check before progressing: Have you checked the activity against your current situation?
02Record a valid land baseline
Learn each exercise from the official demonstration before measuring performance. Use a warm-up and separate demanding assessments when necessary. Count only repetitions and hold time that meet the required technique; an observer can help during private training. Record push-ups, plank and beep result with the date and conditions. Never record an estimated swim or retrieval score to complete a form.
Put it into practice
- Practise easy repetitions before the first assessment.
- Leave an event blank if technique or measurement was uncertain.
Check before progressing: Would an observer count the same valid work?
03Assess swimming with an instructor
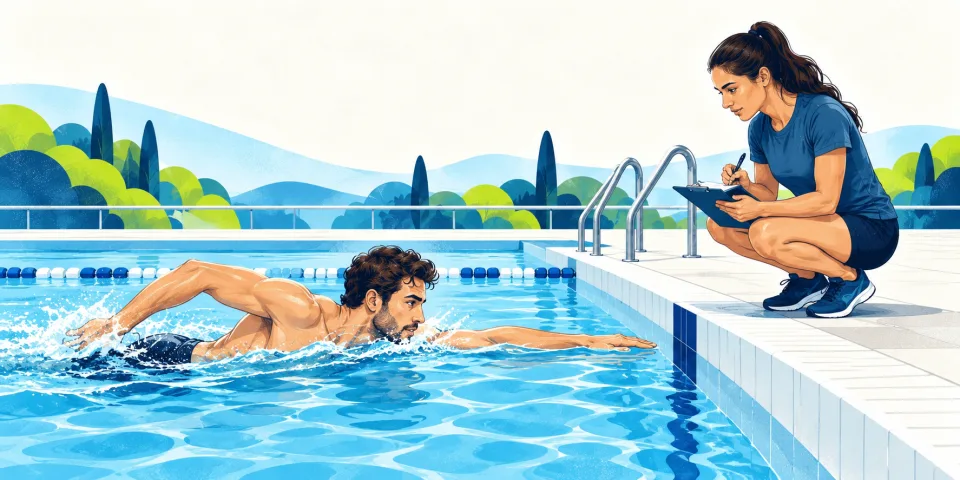
A 50 m time is useful only after you can swim the required strokes continuously with controlled breathing. If you cannot yet do that, book lessons rather than a timed trial. Underwater retrieval is a separate skill and requires qualified dedicated supervision. Being a strong surface swimmer does not establish underwater competence or remove the need for supervision.
Put it into practice
- Explain the exact Frontex sequence to your instructor.
- Record only the skills actually assessed under suitable supervision.
Check before progressing: Which aquatic events remain unassessed?
04Set the next attainable target

Use your own vacancy table to find the next scoring band. A useful target specifies valid repetitions, hold time or the exact level and shuttle. First address any zero-scoring event and missing aquatic assessment, then the overall land threshold. Keep performance goals separate from training doses: a target plank time is not a prescription for every training set.
Put it into practice
- Choose one measurable next step for each weak event.
- Reassess after a training block rather than after every workout.
Check before progressing: Is the next target linked to a valid scoring band?
Chapter 03 / 12 Foundations
Warm-up, effort and recovery
Prepare for effort and recognise when to reduce it.
01Warm up for land sessions
Begin with five to eight minutes of comfortable walking or easy movement, then rehearse easier versions of the session. Prepare wrists and shoulders before push-ups and practise controlled line approaches before shuttle work. Increase speed gradually without turning the warm-up into a workout. You should feel more prepared, not depleted, when the main exercise begins.
Put it into practice
- Rehearse an easier push-up variation and short plank.
- Before running, add comfortable steps and relaxed turns.
Check before progressing: Can you begin the main work with relaxed, controlled movement?
02Begin pool sessions safely

Confirm lane rules and planned activities with the facility and instructor. Enter the water using the permitted method, then start with comfortable surface movement and normal breathing. New swimmers follow their teacher’s progression. Surface swimming and underwater retrieval have different supervision needs. Do not add an improvised apnea drill because a lane or pool happens to be available.
Put it into practice
- Tell the instructor your ability and the planned session.
- Check supervision before any change in activity.
Check before progressing: Has the supervision arrangement been agreed for the actual task?
03Use effort rather than exhaustion

Use the talk test for easy running: you should be able to speak comfortably. Log overall session effort from one to ten. Strength sets should usually end with a few technically sound repetitions still possible. If effort repeatedly reaches eight or higher, review duration, sleep and recovery. The planner reduces following volume after high effort; persistent fatigue needs further adjustment.
Put it into practice
- Record effort immediately after the session.
- Compare effort with technique quality, not just total work.
Check before progressing: Could you repeat a similar session after suitable recovery?
04Respond to pain, illness and missed days

A planned session is not an obligation to exercise through illness or pain. Pause when symptoms make training unsuitable and obtain appropriate advice. Resume with an easier dose suited to the interruption; do not double sessions to catch up. Normal tiredness, unusual fatigue and sharp pain call for different decisions. The platform cannot diagnose an injury or medically clear your return.
Put it into practice
- Mark missed sessions as skipped rather than moving them all forward.
- After a significant interruption, review the starting level and schedule.
Check before progressing: Is today’s session appropriate rather than merely overdue?
Chapter 04 / 12 Strength
Push-up progression
Build valid repetitions through repeatable submaximal work.
01Learn the assessed movement
Watch the physical-test demonstration linked by Frontex. Check starting position, movement range, body alignment and the examiner’s instructions. Keep your trunk controlled rather than allowing hips to drop or rise as fatigue increases. During private practice an observer can identify shortened repetitions. Reduce the difficulty when you cannot repeat the assessed range smoothly.
Put it into practice
- Compare several easy repetitions with the official demonstration.
- Stop the set when the next repetition would change technique.
Check before progressing: Are all counted repetitions performed through the assessed range?
02Choose a workable variation

A wall or secure raised hand support reduces the load while preserving a straight body line. Select a height that permits comfortable, controlled repetitions and normal breathing. Lower the support only after repeated sessions with consistent technique. A training variation develops capacity; it does not change the official test standard. Avoid unstable furniture or slippery hand supports.
Put it into practice
- Start with a height allowing several good repetitions in reserve.
- Change support height before adding many repetitions.
Check before progressing: Is the support stable and the movement pain-free?
03Build repeatable sets
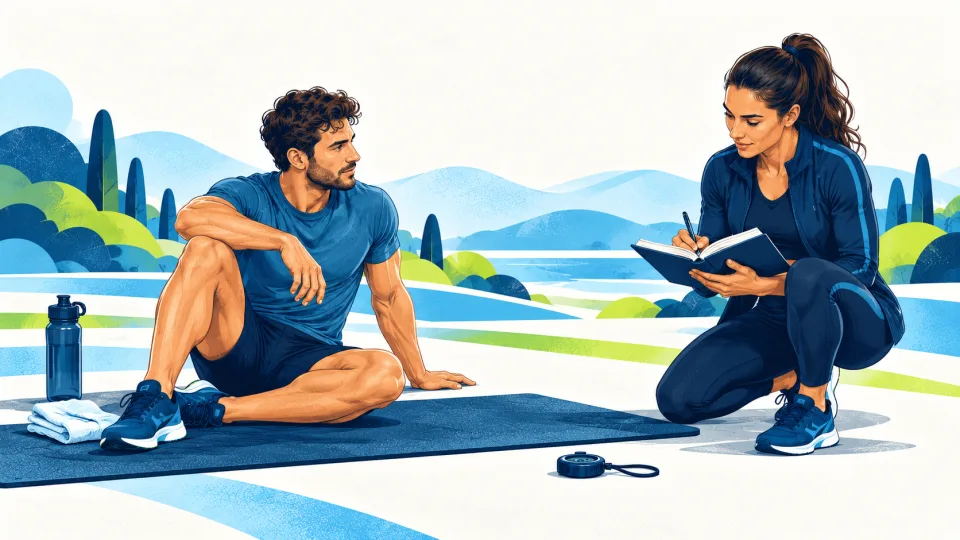
Use the planner dose as a ceiling, not a demand. For an exerciser with 30 valid repetitions, sets around 10–12 may be a workable starting point, but actual reserve and form decide. Rest about 90 seconds between sets. If later sets collapse, use fewer repetitions or an easier incline. Increase one variable after several manageable sessions rather than chasing daily records.
Put it into practice
- Record valid work for every set, including reductions.
- Keep two or three good repetitions in reserve.
Check before progressing: Do final-set repetitions look like first-set repetitions?
04Rehearse 90-second pacing

Once technique and basic capacity are established, practise the timed format occasionally. An uncontrolled opening sprint can shorten later repetitions. Use a pace you can sustain while following the official rules on position and any permitted pauses. Count only valid repetitions and stop when technique fails. A timed rehearsal replaces demanding push-up work that day.
Put it into practice
- Rehearse an opening rhythm before a full timed attempt.
- Review where technique or pacing first deteriorated.
Check before progressing: Did pacing preserve valid repetitions throughout the attempt?
Chapter 05 / 12 Strength
Plank and trunk endurance
Sustain assessed body position without breath-holding.
01Set position and breathing
Use the official demonstration to learn the assessed forearm plank. Set shoulders and pelvis so the trunk remains controlled. Breathe continuously rather than straining with a held breath. The meaningful result is time in the required position, not time endured after the hips sag or lift. An observer can identify changes you may not feel yourself.
Put it into practice
- Practise a brief hold while breathing normally.
- End at the first sustained loss of the assessed position.
Check before progressing: Can you breathe without changing your body position?
02Use short quality holds
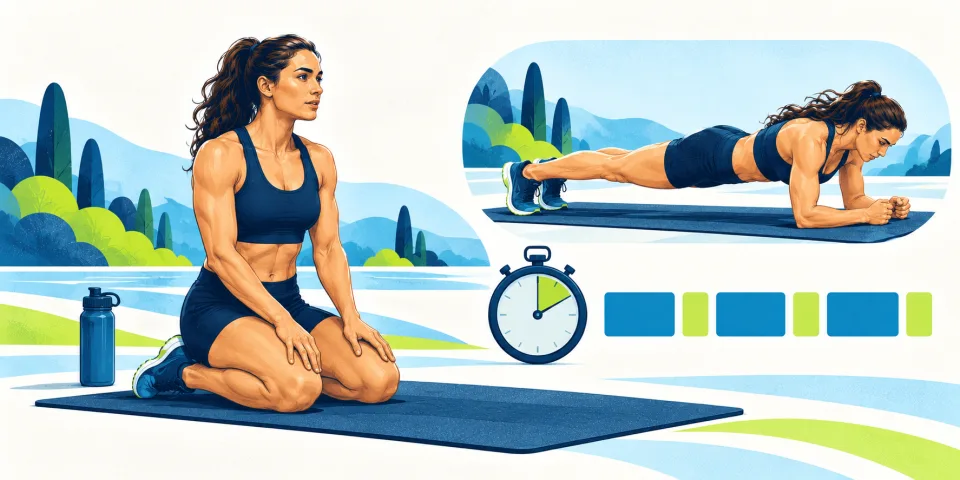
Several shorter holds build repeatable work without making every set a maximum test. A 60-second valid baseline might lead to initial holds around 15–20 seconds, adjusted to comfort. Rest about 60 seconds. Use a shorter lever or shorter duration when necessary. Add a small amount of time only after consistent sessions; do not increase every set and every session at once.
Put it into practice
- Choose a duration ending before position deteriorates.
- Record valid hold time rather than the timer’s planned value.
Check before progressing: Could each hold finish with a few controlled seconds remaining?
03Support the trunk and shoulders

Rows, comfortable split squats and simple trunk-control exercises support balanced training around the tested movements. Choose stable positions and light resistance that allow normal breathing. Their purpose is capacity and control, not creating a harder unofficial test. Start with a small number of comfortable sets. Omit painful movements and obtain coaching when alignment is uncertain.
Put it into practice
- Use slow, controlled repetitions and stable support.
- Keep supporting work easy enough for the next planned session.
Check before progressing: Does the supporting work improve control without excessive fatigue?
04Rehearse the timed hold

A practice test should use the official starting position and an observer when possible. Establish when timing begins and when an invalid position ends it. Keep breathing and use a simple cue such as steady trunk position. Record the valid duration once. Avoid repeated maximal attempts after failure; use the result to choose the next training block.
Put it into practice
- Review the official demonstration immediately before rehearsal.
- Record the point of technical failure, not only discomfort.
Check before progressing: Was the end point based on the required technique?
Chapter 06 / 12 Running
Build a running foundation
Establish tolerable running before harder shuttle work.
01Begin with walk-run intervals
If continuous running is new, alternate brief easy jogging and walking. The planner starts conservatively with one minute jogging and 90 seconds walking, up to six repetitions. Use fewer when needed and leave recovery between running days. Repeat a manageable dose before extending jogging. Fitness can improve faster than tolerance to impact, so avoid rushing distance and speed together.
Put it into practice
- Start and finish with easy walking.
- Repeat the same manageable session before changing it.
Check before progressing: Were walking and daily activity comfortable after the session?
02Keep easy running conversational

Easy running develops regular aerobic work without exhausting every session. Use the talk test rather than chasing a pace from another candidate. You should be able to speak comfortably; walk or slow down when needed. Begin with a duration you can repeat. Running faster on every easy day can reduce recovery for the strength, swimming and specific shuttle sessions.
Put it into practice
- Log duration and overall effort, not just distance.
- Finish with capacity remaining for normal daily activity.
Check before progressing: Could you speak comfortably at the chosen pace?
03Prepare legs for turns and impact

Comfortable split squats and calf raises can complement running. Start with stable support and controlled repetitions. Shuttle running adds repeated braking and acceleration, so first practise turns at easy speed. More jumping is not automatically better preparation. Introduce a new movement separately from increases in running volume and monitor how you feel later and the following day.
Put it into practice
- Use two easy sets of a familiar leg exercise.
- Practise several relaxed turns with full recovery.
Check before progressing: Are braking and push-off controlled on both sides?
04Progress without chasing missed work

Build from completed, tolerable sessions rather than the calendar alone. Change one element at a time: duration, repetitions or intensity. After a missed week, return to a recently manageable dose. Pain, persistent fatigue or illness justify a pause and appropriate advice. A recovery week reduces volume; it is part of the programme, not evidence that preparation is failing.
Put it into practice
- Review the last two or three sessions before increasing work.
- Keep a recovery day between running sessions.
Check before progressing: Is progression supported by completed work and recovery?
Chapter 07 / 12 Running
Prepare the 20 m beep test
Match lane, audio, pacing and notation to the official test.
01Match distance and audio
The notice names the Léger and Lambert version of the multistage 20 m shuttle test. Use the demonstration linked by Frontex and check the audio version before rehearsing. A different start speed, stage sequence or lane length changes the result. Mark both lines accurately and provide safe turning space. Record results as a level plus shuttle; 10.10 comes after 10.5.
Put it into practice
- Measure 20 m and label both lines.
- Confirm the recording against the official reference.
Check before progressing: Would another candidate reproduce the same test setup?
02Make economical turns

Practise arriving under control instead of sprinting early and waiting at every line. Shorten the approach steps as needed, turn according to the official instructions, and accelerate smoothly. Learn at comfortable speed before faster repetitions. Avoid twisting on a planted foot on a slippery surface. The goal is consistent, valid line reaches with less wasted movement.
Put it into practice
- Rehearse a few easy approaches with full recovery.
- Notice unnecessary stopping or overstriding.
Check before progressing: Are line reaches valid without uncontrolled braking?
03Build controlled faster running

Faster intervals belong after comfortable running and consistent recovery. Start with a small number of controlled efforts separated by easy walking or jogging. The planner example uses one-minute efforts with 90-second recoveries, never all-out sprints. End early if technique deteriorates. Keep easy running on other days; replacing every session with intense shuttles adds fatigue without practising all required skills.
Put it into practice
- Choose a pace you can repeat without sprinting.
- Reduce repetitions when effort exceeds the planned range.
Check before progressing: Did later efforts remain controlled rather than desperate?
04Rehearse and interpret the result

Use occasional protocol-matched rehearsals after familiarisation. Follow official line and stopping instructions; an observer should note the last valid level and shuttle. Do not invent an extra shuttle after missing the signal. A demanding rehearsal replaces that day’s harder running. Review whether the limit came from pacing, turning, unfamiliar audio or conditioning before changing the programme.
Put it into practice
- Record the exact audio version and last valid shuttle.
- Choose one technical or conditioning adjustment for the next block.
Check before progressing: Is your score based on valid completed shuttles?
Chapter 08 / 12 Swimming
Front crawl and breaststroke
Develop continuous surface swimming before seeking speed.
Underwater retrieval requires a qualified instructor providing dedicated supervision and a rescue procedure. Never practise apnea alone, hyperventilate, or compete to hold your breath. General pool supervision alone is insufficient for these drills.
01Establish confidence and normal breathing

If water confidence is limited, use instructor-led lessons before timed swimming. Learn comfortable flotation, safe entry, returning to the edge and normal surface breathing. The instructor chooses depth and distances. Do not use breath-holding to compensate for difficulty breathing during a stroke. Surface competence grows through calm, repeatable practice with suitable supervision.
Put it into practice
- Explain any water-confidence concerns to the teacher.
- Practise only the distances and entries selected by the teacher.
Check before progressing: Can you return calmly to the edge and breathe comfortably?
02Develop front crawl rhythm
Work on a balanced body position, relaxed stroke and an exhalation that allows a comfortable breath when the head turns. Avoid lifting the head sharply to gasp or forcing a fixed breathing pattern that leaves you distressed. Use short lengths and recovery while learning. Ask the instructor to observe how breathing affects alignment before adding distance or speed.
Put it into practice
- Practise short comfortable crawl lengths with normal breathing.
- Ask for one specific correction rather than changing everything.
Check before progressing: Does breathing fit the stroke without panic or breath-holding?
03Coordinate breaststroke

Coordinate pull, breath, kick and glide at an easy pace. An instructor should check the leg action and body position, especially if the movement causes knee or back discomfort. Rushing the arms can waste effort while the legs are still recovering. Learn a smooth rhythm in short lengths, then maintain it as the distance increases. Technique comes before sprinting.
Put it into practice
- Use short, unhurried lengths with recovery.
- Stop painful movements and ask the instructor to review technique.
Check before progressing: Are arms and legs coordinated rather than fighting each other?
04Link the required 50 m sequence
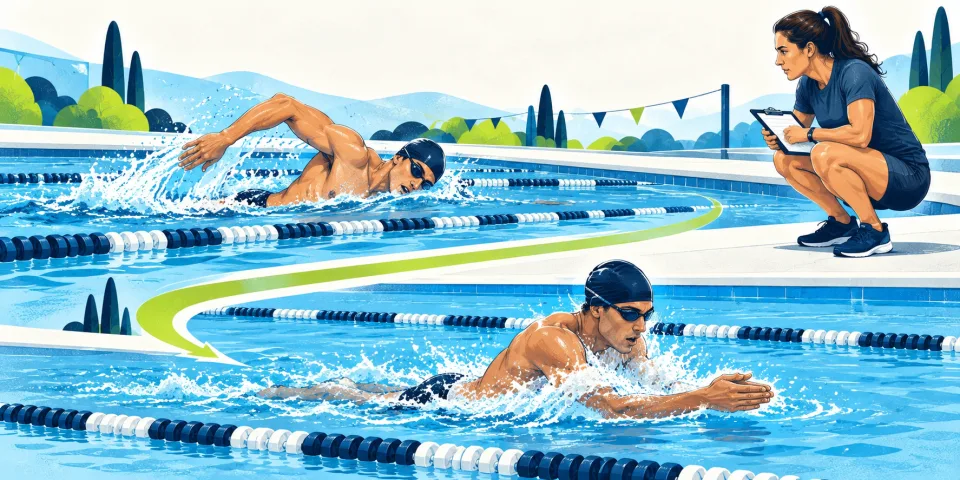
The reference test requires 25 m crawl followed by 25 m breaststroke without stopping. Practise the transition with the instructor before timing it. Use the permitted start and turning instructions from Frontex; do not substitute a different stroke to obtain a faster number. When continuity and breathing are stable, an occasional timed attempt can guide the next scoring target.
Put it into practice
- First link the two strokes at comfortable effort.
- Record elapsed time only for a continuous valid sequence.
Check before progressing: Was the sequence continuous and technically appropriate?
Chapter 09 / 12 Swimming
Supervised object retrieval
Recognise the protocol and arrange qualified instruction.
Underwater retrieval requires a qualified instructor providing dedicated supervision and a rescue procedure. Never practise apnea alone, hyperventilate, or compete to hold your breath. General pool supervision alone is insufficient for these drills.
01Arrange dedicated supervision
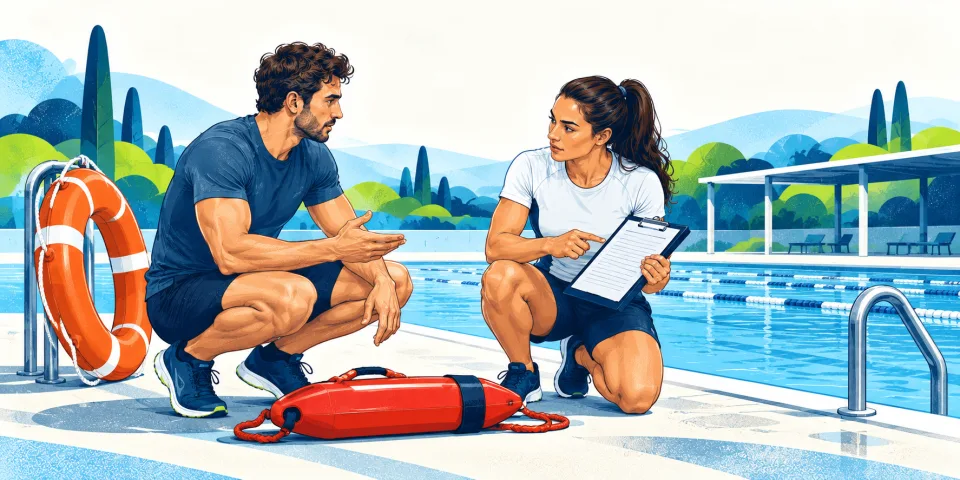
Underwater breath-holding can cause loss of consciousness without the warning you expect. Never train it alone or rely only on general lifeguard observation. Arrange a qualified aquatic instructor providing dedicated supervision, permission from the facility and a rescue procedure. Never hyperventilate or turn practice into a contest of duration or distance. This course prescribes no apnea tables or unsupervised underwater sessions.
Put it into practice
- Ask the facility for a suitably qualified instructor.
- Agree how supervision and rescue would work before entering the task.
Check before progressing: Is a qualified person dedicated to this specific task?
02Understand the official retrieval task
Read the notice and watch the demonstration with your instructor. The reference task starts in flotation, descends to the bottom, collects two objects and returns both to the edge. Published depths are 1.4–2.5 m; the first object is two metres from the starting point. These are examination conditions, not a self-training prescription. The instructor decides whether and how to practise relevant skills.
Put it into practice
- Show the official protocol to the instructor.
- Discuss current ability without attempting an improvised trial.
Check before progressing: Can you explain the task without treating its dimensions as a drill?
03Let the instructor choose progression
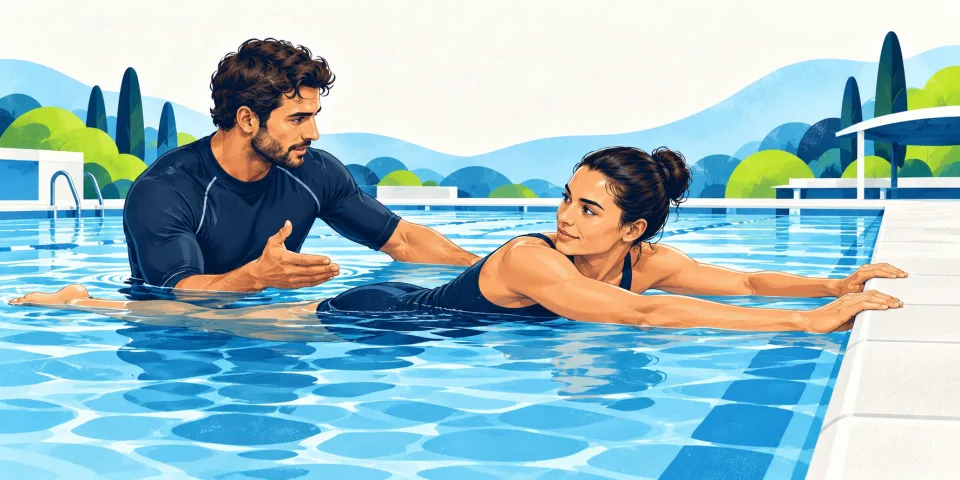
Aquatic progression depends on observed competence, comfort and the instructor’s assessment. It may begin with surface skills or other easier tasks chosen by the instructor. This platform cannot determine safe underwater duration or distance for you. Stop and surface according to the instructor’s safety directions; completing a goal never takes priority over the need to breathe or a stop signal.
Put it into practice
- Follow only instructor-selected tasks.
- Communicate discomfort immediately; do not conceal it to complete a target.
Check before progressing: Has the instructor explicitly approved the next step?
04Record assessed competence honestly

Keep retrieval unassessed until it has been evaluated under suitable supervision. The reference scoring is 2.5 points on the first successful attempt, 1.5 on the second and zero if unsuccessful. A surface swim time does not imply success in retrieval. Record the actual result and review any unresolved skill with the instructor rather than adding repeated attempts independently.
Put it into practice
- Record only a supervised assessment result.
- Keep unresolved skills visible in your preparation review.
Check before progressing: Does the saved result describe an actual supervised assessment?
Chapter 10 / 12 Recovery and test day
Fuel, fluids and sleep
Support repeatable training with practical daily habits.
01Eat to support regular training
Build regular meals that provide enough energy for daily life and training. Include carbohydrate foods for activity, protein-containing foods for recovery and varied fruit and vegetables. Avoid abrupt restrictive diets while increasing training. You do not need a supplement routine to begin this programme. A sports dietitian can address individual nutrition concerns or dietary restrictions.
Put it into practice
- Plan meals around work and training times.
- Keep familiar food available after sessions.
Check before progressing: Are hunger and poor planning repeatedly disrupting training?
02Plan sensible hydration

Arrive at sessions normally hydrated and keep suitable fluids accessible. Needs vary with duration, heat, body size and individual sweating; a universal fixed intake is inappropriate. Practise drinking comfortably during longer or warmer sessions without forcing large amounts. For the test, use familiar habits and follow venue rules. Seek individual advice when medical conditions affect fluid management.
Put it into practice
- Bring accessible fluids to appropriate sessions.
- Review conditions and personal comfort rather than copying another athlete.
Check before progressing: Is your drinking plan practical and familiar?
03Protect sleep and recovery

Choose training times that leave room for sufficient sleep and normal daily responsibilities. Keep bedtime and waking routines as consistent as practical. Persistent poor sleep and unusual fatigue are reasons to reduce workload, not add stimulants or harder sessions. Review the whole week, including work stress and travel. Recovery supports performance across strength, running and swimming.
Put it into practice
- Schedule recovery days before filling every free evening.
- Reduce optional work during a difficult sleep week.
Check before progressing: Does the schedule fit your actual recovery opportunities?
04Rehearse test-day food and drink

Use practice days to learn which familiar meal timing and drinks feel comfortable. Avoid new supplements, unfamiliar heavy meals or aggressive caffeine experiments on test day. Plan food around travel, waiting periods and access at the venue. A shorter physical test does not justify an endurance-race nutrition strategy. Keep the plan simple, familiar and appropriate to your needs.
Put it into practice
- Try the intended meal timing before a normal rehearsal.
- Pack familiar options permitted by the venue.
Check before progressing: Have you already used this plan comfortably during training?
Chapter 11 / 12 Foundations
Mock tests and adjustments
Use valid results to choose the next block.
01Match conditions before comparing results
Use comparable equipment, lane distance, audio, stroke sequence and technique standards. Note conditions that materially change performance. Ask an observer to check valid work during private practice; the official examination itself prohibits recording under the reference notice. Do not invent rest intervals or test order as official rules. Follow your invitation and examiner instructions.
Put it into practice
- Write down setup and any important differences.
- Replace demanding sessions with rehearsal rather than adding it.
Check before progressing: Are the results comparable enough to judge progress?
02Keep unknown and invalid results distinct

Blank means unassessed. Zero means an assessed result that earns no points. Keep that distinction for every event, especially swimming and retrieval. Update the baseline only after a valid assessment and keep the date in your own notes. A higher number with shortened push-ups or an incorrect shuttle lane is not evidence of improvement.
Put it into practice
- Review each saved result against the technique requirement.
- Leave uncertain measurements blank until reassessed.
Check before progressing: Can you distinguish a missing assessment from a failed one?
03Choose priorities from score bands

First address zero-scoring events and unassessed aquatic skills. Then check the total land threshold. Once every event is secure, compare realistic next scoring bands with time and recovery available. The smallest numerical gap is not always the easiest adaptation. A qualified coach can judge technique, training history and realistic timelines more accurately than a score alone.
Put it into practice
- Choose one or two main priorities for the next block.
- Maintain other events with manageable sessions.
Check before progressing: Does your priority protect qualification across all events?
04Review workload before progressing

Review completed sessions, effort and recovery together. High effort with declining technique suggests repeating or reducing work. Manageable sessions with stable technique may support a small increase in one variable. The planner includes lighter recovery weeks and reduces volume following high logged effort. It does not automatically diagnose fatigue or guarantee an optimal training load.
Put it into practice
- Review the week before editing the next block.
- Discuss persistent stalls or fatigue with a qualified coach.
Check before progressing: Is the adjustment explained by evidence rather than impatience?
Chapter 12 / 12 Recovery and test day
Taper and test day
Arrive rested, organised and familiar with the protocol.
01Reduce volume before testing

In the final preparation period, reduce total work while keeping familiar, controlled movements. The planner uses shorter sessions and fewer sets; the last ten days before a known test are lighter. Do not add new exercises or a last-minute overload block. A taper reduces accumulated fatigue; it cannot replace missing weeks of preparation or make an unassessed aquatic skill ready.
Put it into practice
- Keep familiar technique while reducing total work.
- Avoid repeated maximal tests in the final days.
Check before progressing: Will the next session leave you fresher rather than prove fitness?
02Rehearse a simple warm-up routine
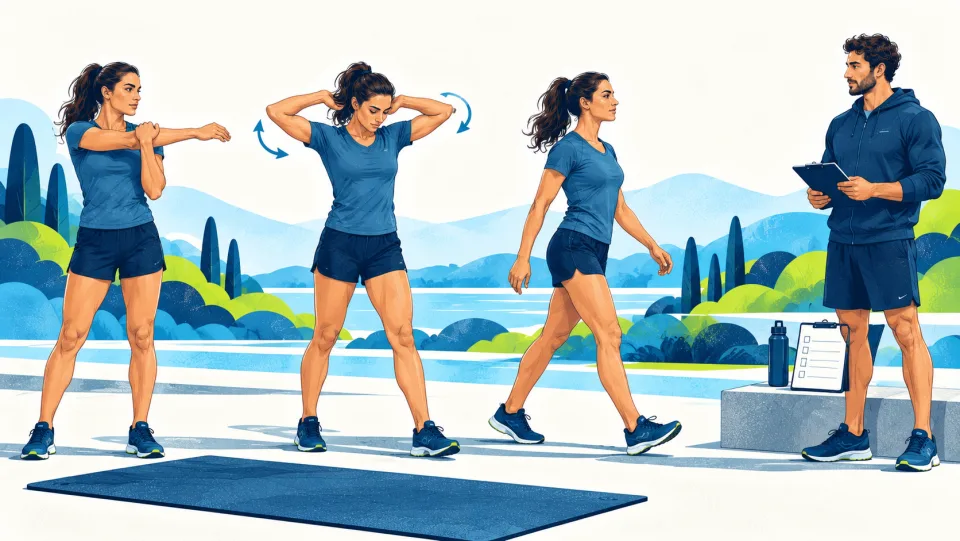
Use the warm-up that already works in training and adapt it to venue instructions. Select one or two simple cues for each movement, such as controlled body position or relaxed line approach. Avoid changing technique from a last-minute tip. Stay attentive to examiner explanations, since official instructions determine how the event is assessed.
Put it into practice
- Write a brief warm-up sequence you have already practised.
- Use one clear cue per event.
Check before progressing: Is the routine familiar enough to use under pressure?
03Check travel, kit and documents
Recheck the invitation, identity documents, medical-certificate dates, venue and arrival time. Pack familiar footwear, suitable clothing and permitted swim equipment. Allow realistic travel and changing time. The published recruitment procedure does not promise rescheduling if you miss the appointed test. Resolve practical questions through official candidate channels before travelling.
Put it into practice
- Check documents and equipment the day before travel.
- Save the venue address and official contact instructions.
Check before progressing: Can you arrive on time with every required document?
04Perform, then recover and review

Follow examiner instructions and count only valid work in your own assessment of performance. If something is unclear, ask through the permitted procedure rather than improvising. Report health concerns promptly. After testing, recover with normal food, fluids and rest. Record lessons from the experience without treating a practice score or course completion as an official selection result.
Put it into practice
- Listen to instructions before every event.
- Afterward, note practical lessons and allow recovery.
Check before progressing: Are you separating personal practice evidence from official decisions?
Sources and demonstrations
- FGIV notice · RCT-2025-00108, Annex II
- AD8 notice · RCT-2025-00107, Annex II
- Frontex physical-test demonstration
- Frontex-linked 20 m beep-test demonstration
- Frontex 50 m swim demonstration
- Frontex object-retrieval demonstration
- ACSM · Resistance training guidance (2026)
- NHS · Beginner walk-run progression
- Swim England · Front crawl technique
- Swim England · Breaststroke technique
- Swim England · Breath-holding safety
- AIS · Performance nutrition education
- Tapering in endurance athletes · Research review
Test rules come from the vacancy notice and official demonstrations. Training sessions are EPSOHQ adaptations of general guidance; the combined programme has not been validated as a Frontex coaching intervention. Use qualified coaching to assess individual technique and workload.